
How to Ride the Subway with Confidence: A Step-by-Step Guide
The subway is one of the most affordable and efficient ways to get around a city. However, if you’re new to this form of transportation, it can feel overwhelming. From choosing the right train to making sure you don’t miss your stop, the process can seem stressful. But don’t worry! Here are 4 simple steps to help you navigate the subway with ease and confidence:
- Purchase a Pass
- Find Your Train
- Entering and Riding the Train
- Get Off at Your Stop
By following these straightforward directions, you’ll be a subway pro in no time!
Step 1: Purchase a Pass 🎟️
Before you dive into the subway experience, you’ll need a pass—your key to the city! Here’s everything you need to know to get started:
Where to Purchase a Subway Pass
- At the Station
- Kiosks: Most subway stations have self-service kiosks where you can easily purchase single-ride tickets, day passes, or load money onto a travel card. These kiosks often accept cash, credit/debit cards, and contactless payments.
- Ticket Counters: For more help, head to a manned ticket counter. Staff can assist you in choosing the best pass for your needs, especially if you’re unfamiliar with the system.
- Online
- Many major cities now offer the option to purchase subway passes online or through official transit apps. This is especially handy if you want to plan ahead and avoid long lines. Some apps allow you to download a digital pass directly to your phone, which you can scan or tap at turnstiles. Examples include:
- NYC’s OMNY system: Load passes onto your phone.
- London’s Oyster app: Top up your card or buy daily caps.
- Many major cities now offer the option to purchase subway passes online or through official transit apps. This is especially handy if you want to plan ahead and avoid long lines. Some apps allow you to download a digital pass directly to your phone, which you can scan or tap at turnstiles. Examples include:
- Retail Locations
- In some cities, convenience stores like 7-Eleven, CVS, or local chains sell subway passes. Look for signage indicating that they sell transit cards or tickets.
- Airports
- Many cities with subway systems have kiosks or counters right at the airport, making it easy to grab a pass as soon as you land. If you’re starting your journey from an airport, this is a convenient option.
Types of Passes to Consider
- Free Rides:
- If you’re in one of the rare cities with free public transportation (e.g., some small European towns or select promotional events in larger cities), congratulations—you can skip this step and just board the train!
- Single-Ride Tickets:
- Great for occasional use or short visits.
- Purchase at kiosks or counters at the station.
- Example: In Paris, you can buy a single T+ ticket for a specific journey.
- Day Passes:
- Perfect for travelers planning to use the subway multiple times in a day. These passes often offer unlimited rides for a set period.
- Example: Tokyo Metro offers an affordable 24-hour pass to cover various lines.
- Prepaid Cards:
- Many cities have reloadable cards for convenient travel.
- Example: London’s Oyster Card or Hong Kong’s Octopus Card offer flexibility and discounted fares for multiple rides.
Pro Tips for Buying a Pass
- Carry Small Bills or a Credit Card: Some kiosks have limitations on large denominations or cash-only options. Be prepared!
- Validate Your Ticket: In some places (e.g., Germany’s U-Bahn), you’ll need to validate your ticket at a machine near the entrance before boarding. Look for a small stamping device.
- Check for Discounts: Many cities offer discounted passes for students, seniors, or multi-day visitors. Research ahead to see if you qualify.
- Save Time: If you’re staying for several days, buying a multi-day pass or topping up a reloadable card can save you from repeated trips to the kiosk.
Wherever your travels take you, knowing where and how to purchase your subway pass will set the tone for a smooth and stress-free ride. A little preparation goes a long way, so grab your pass and get ready to explore!
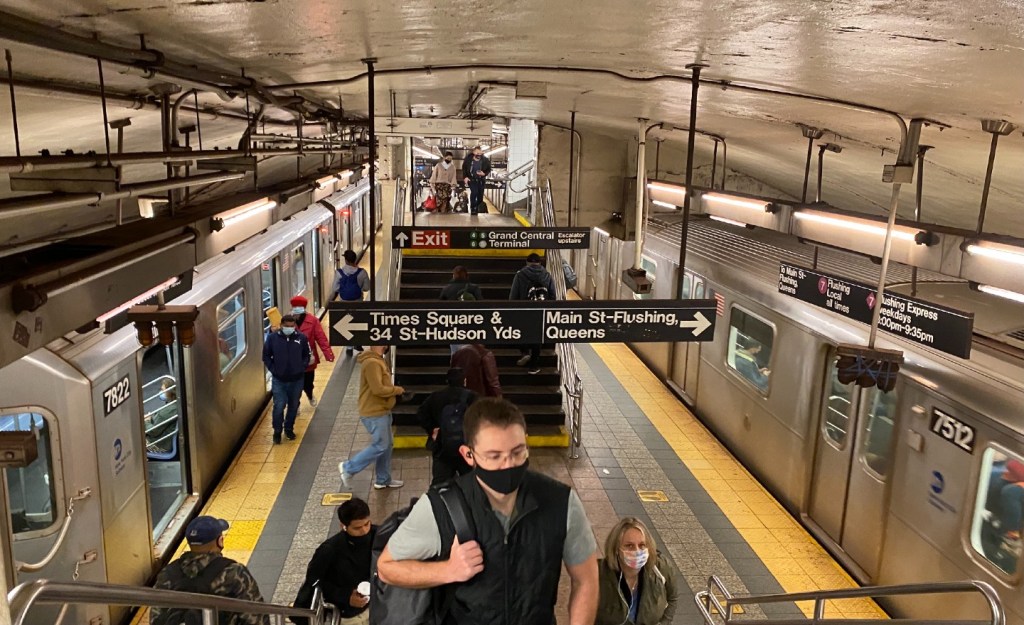
Step 2: Find Your Train 🚉
Now that you’ve got your pass, it’s time to find your train. Don’t worry—figuring out which train to take may seem daunting, but with a little know-how, you’ll feel like a subway pro in no time.
Understand the Subway Layout
Most subway systems have multiple lines, each with its own color, number, or letter for easy identification. These lines crisscross the city, connecting neighborhoods and major landmarks. Here’s how to navigate the maze:
- Look at the Map: Subway maps are usually posted at every station, on walls, and near ticket machines. Find your starting station and your destination. Trace the line you need to take and note whether you’ll need to transfer to another line.
- Know Your Direction: Subway lines typically run in two directions, corresponding to their terminal stations (the first and last stops on the line). For example, one train may go north to “Central Station,” while the other heads south to “Parkside Terminal.”
Finding the Right Platform
Once you know your line and direction, head toward the platform for trains heading to your destination:
- Check Signs: Platforms are clearly labeled with the line name and terminal station. If you’re heading north, look for signs with the name of the final stop in that direction.
- Follow the Arrows: Some stations have directional arrows or digital boards that point toward the correct platform. These can save you time and confusion!
- Verify the Stops: Many stations have lists of stops for each direction. Double-check to ensure your stop is included.
Using Technology to Your Advantage 📱
In today’s tech-savvy world, you don’t have to rely on maps alone. Let your phone do the heavy lifting!
- Google Maps: Enter your starting point and destination, and it will give you the best route, including which subway line to take, the direction, and how many stops.
- Transit Apps: Many cities have their own apps with real-time updates, train schedules, and service alerts. Examples include:
- NYC Subway: Provides live updates on delays and disruptions.
- London Underground App: Offers step-by-step navigation for the Tube.
- Offline Options: Download a subway map before your trip so you can navigate even without Wi-Fi or cell service.
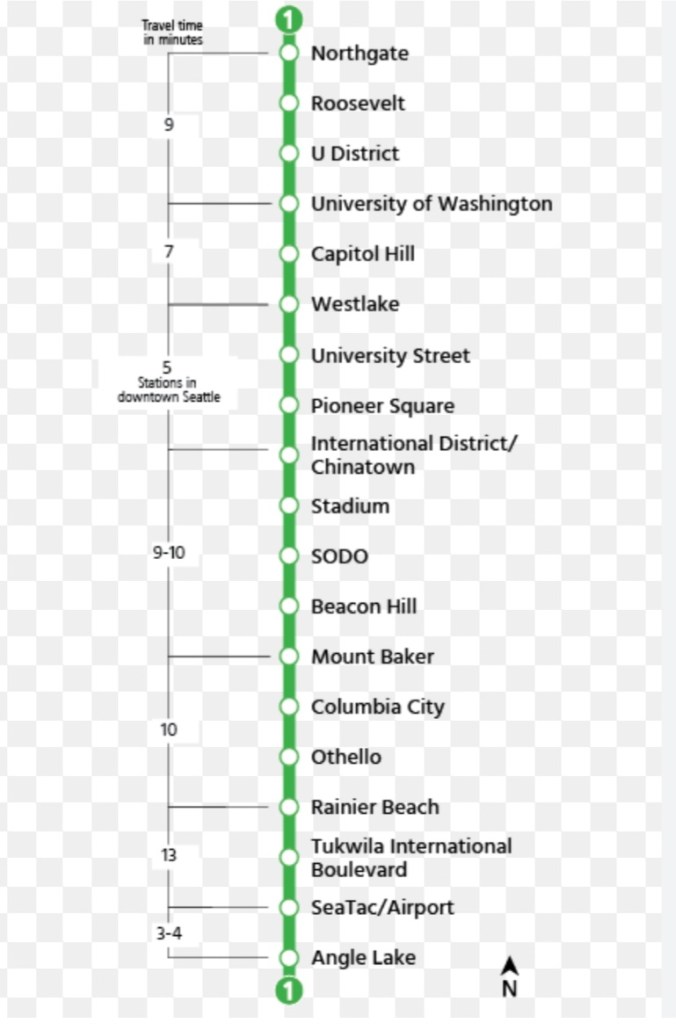
Navigating the Seattle Subway: A Personal Experience
Above is a map of the Seattle subway system. During a 12-hour layover, my husband and I decided to explore the city and kill some time. We followed the signs in the airport to the subway station, where we paid $6 for round-trip tickets for both of us.
We boarded at the SeaTac/Airport stop, aiming to get to the Westlake stop, where there were plenty of restaurants and shops. As mentioned earlier, subway trains aren’t labeled by “north” or “south,” but by their first and last stops.
The first train that arrived at the platform was labeled “Angle Lake,” which meant it was heading south, away from our destination. We waited for the next train, which was labeled “Northgate.” This train was going north, and though Northgate wasn’t our final stop, it would take us in the right direction. We rode it for 12 stops and arrived at our destination, Westlake.
When it was time to head back to the airport, we returned to the Westlake stop and followed the signs for “Angle Lake,” which guided us to the platform heading south toward the airport.
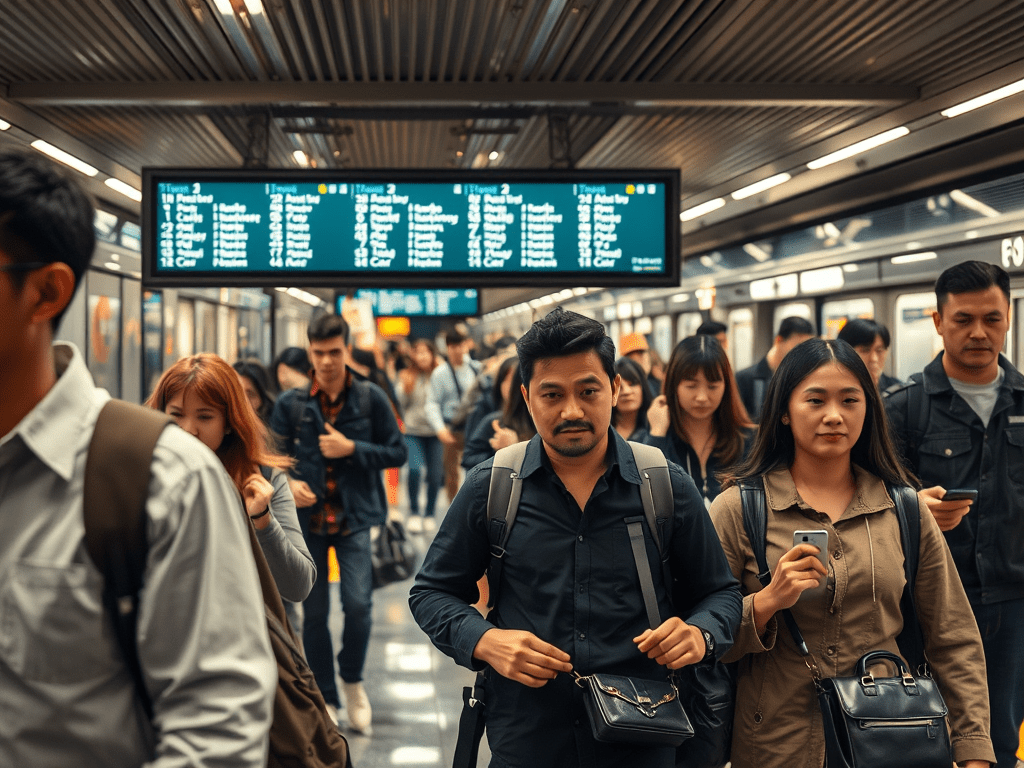
Step 3: Entering and Riding the Train 🚪
Boarding and riding the subway might seem like the most intimidating part, but once you know what to expect, it’s smooth sailing. Here’s how to navigate this step with confidence:
Before the Train Arrives
- Be Prepared:
- Have your pass or ticket ready so you’re not fumbling in your bag when it’s time to board.
- Double-check the digital signs or maps to ensure you’re on the right platform for your destination.
- Stand in the Right Spot:
- Many platforms have markings or arrows showing where the train doors will open. Stand near these spots to board efficiently.
- If the platform is crowded, stand back to let others off the train first.
- Observe the Crowds:
- If the platform seems very busy, prepare yourself for a packed train. Be ready to stand if seats aren’t available.
When the Train Arrives
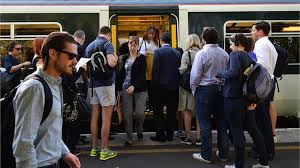
- Let Others Exit First:
- As the doors open, step aside to allow passengers to exit. This keeps the flow smooth and ensures everyone gets on and off easily.
- Board Quickly but Calmly:
- Once the exiting passengers have cleared, step onto the train without hesitation. Don’t rush, but be mindful that the doors will close after a short delay.
- Find a Spot:
- If there are available seats, grab one. Priority seating near the doors is typically reserved for the elderly, disabled, or pregnant riders—leave these open unless they’re unoccupied.
- If there are no seats, find a stable spot to stand. Hold onto a pole or strap for balance, especially when the train starts or stops suddenly.
What to Do if Something Goes Wrong
- Missed Your Stop?
- Don’t panic! Get off at the next station and take a train going in the opposite direction. This is a common mistake and easy to fix.
- Crowded Train?
- If the train is packed, let it pass and wait for the next one. Another train will usually arrive within minutes.
- Feeling Uncomfortable?
- If you feel uneasy for any reason, move to another car at the next stop or notify a subway attendant if needed.
Pro Tips for a Smooth Ride
- Avoid Peak Hours:
- Morning and evening rush hours can be extremely crowded. If possible, plan your travel during off-peak times for a more comfortable ride.
- Know the Etiquette:
- Avoid eating or drinking on the train unless the system explicitly allows it. Be courteous to fellow passengers.
- Stay Alert:
- Even if you’re absorbed in your phone or book, keep an eye on your surroundings. Watch for your stop and ensure your belongings are safe.
Riding the subway can be a fascinating part of your adventure, offering a glimpse into the rhythm of city life. With a bit of preparation and awareness, you’ll ride confidently and maybe even enjoy the journey! 🚇✨
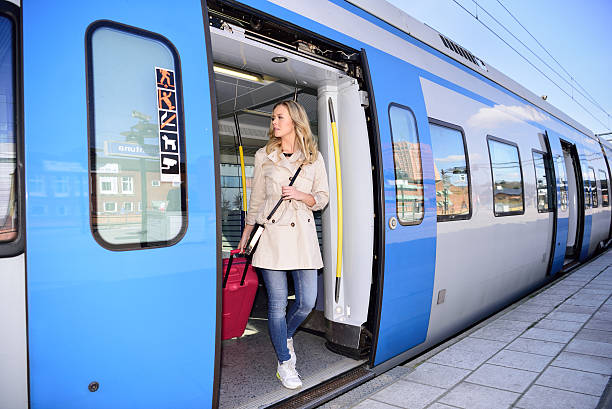
Step 4: Get Off at Your Stop 🚦
Getting off the subway might feel like a race against time, but it’s actually a straightforward process if you prepare ahead. Here’s how to ensure a smooth exit and handle any hiccups along the way:
Before Your Stop
- Pay Attention to Announcements:
- Most subway systems announce the upcoming stops either through automated messages or a conductor’s voice. Listen carefully to know when your stop is coming up.
- Track Your Progress:
- Use your phone’s GPS or check the subway map inside the train to follow along. This is especially helpful if announcements aren’t clear or if you’re unfamiliar with the area.
- Move Toward the Door Early:
- One or two stops before yours, start making your way toward the exit doors, especially if the train is crowded. Politely excuse yourself if you need to pass other passengers.
- Gather Your Belongings:
- Don’t wait until the last second to grab your bag, phone, or other items. Have everything in hand so you can step off quickly when the train stops.
Exiting the Train
- Step Off Quickly and Smoothly:
- Once the doors open, step off promptly to avoid blocking others. Don’t hesitate; the train will not wait long at the station.
- Be Courteous to Others:
- If the platform is crowded, move away from the doors after exiting to make space for other passengers getting off behind you.
- Check the Platform Signs:
- Double-check the station signs to confirm you’re at the right stop. It’s always good to verify, especially if the station names sound similar.
Handling Crowded Exits
- Communicate:
- If the train is packed, let others know you’re getting off by saying, “Excuse me, I need to get off at the next stop.” People will generally move aside to help you out.
- Stick Together (if in a Group):
- If you’re traveling with others, agree on a meeting spot at the station in case you get separated. This can be helpful during busy times or on crowded trains.
- Don’t Push or Shove:
- Even if you’re in a rush, remain calm and courteous. Most systems allow ample time for boarding and exiting. The doors also will not close, as long as there are people going in and out of the doors.
After You Exit the Train
- Follow Signs for Exits or Transfers:
- Look for directional signs pointing to station exits or other train lines if you’re transferring. These signs are usually clearly marked.
- Take Your Time:
- If you’re unsure of where to go next, step aside and take a moment to orient yourself. Many stations have maps or information desks to help you navigate.
- Beware of Platform Gaps:
- When stepping off, watch for gaps between the train and the platform. While small, they can pose a tripping hazard if you’re not paying attention.
Pro Tips for Exiting Like a Pro
- Set Alarms:
- If you’re worried about missing your stop, set an alarm or reminder on your phone for when it’s approaching.
- Know Your Exit Strategy:
- Some stations are huge with multiple exits. Check a map or ask for guidance beforehand to ensure you take the right exit for your destination.
- Enjoy the Journey:
- If you accidentally end up at the wrong station, consider it a mini-adventure! You might discover something interesting while finding your way back.
Exiting the subway can feel like a whirlwind, but with a bit of preparation, you’ll navigate it like a local. Stay calm, be courteous, and enjoy the convenience of reaching your destination! 🚇✨


Leave a comment